Mail merge documents - a basic introduction with Microsoft Word and LibreOffice Writer

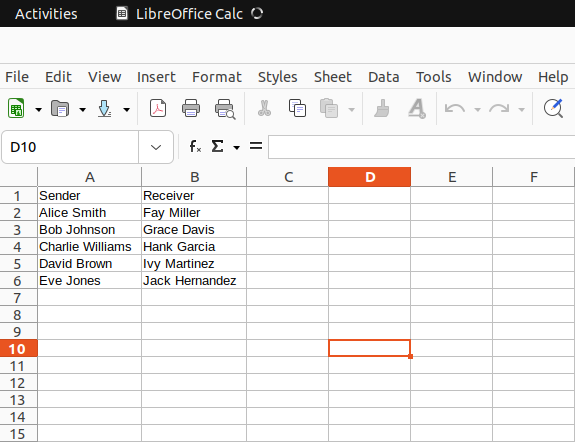
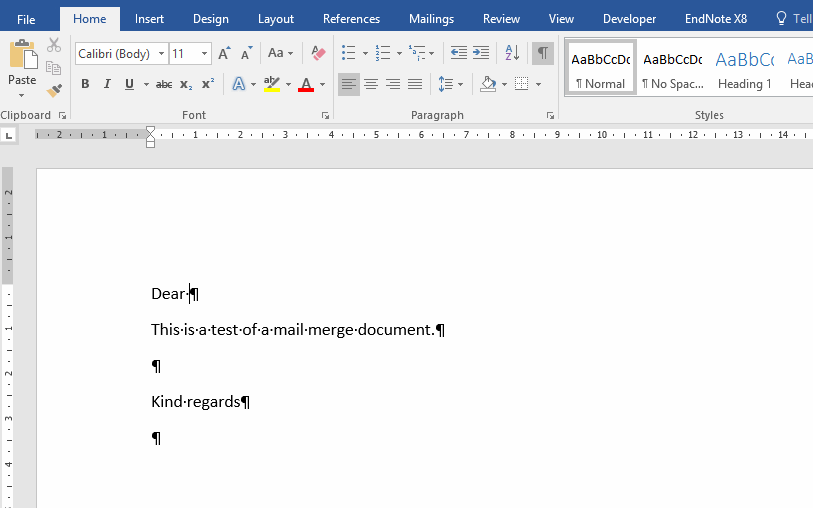
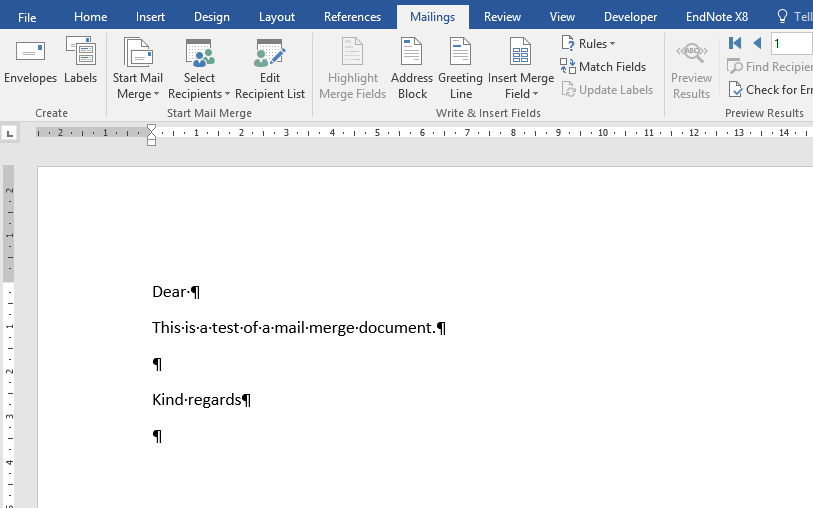
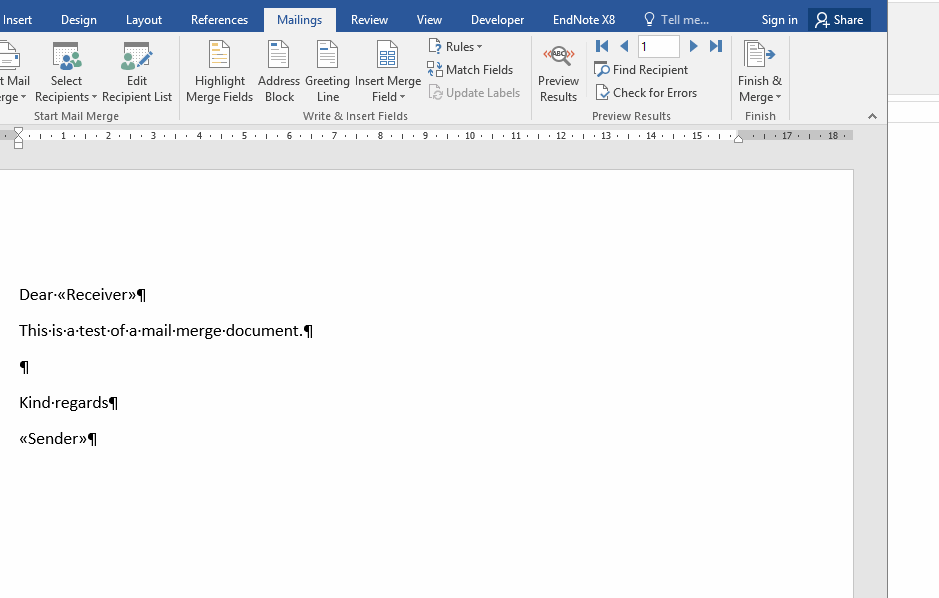
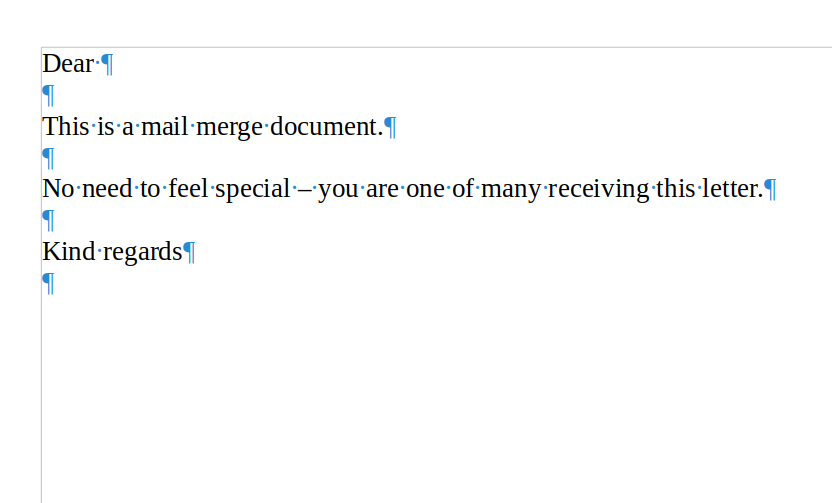
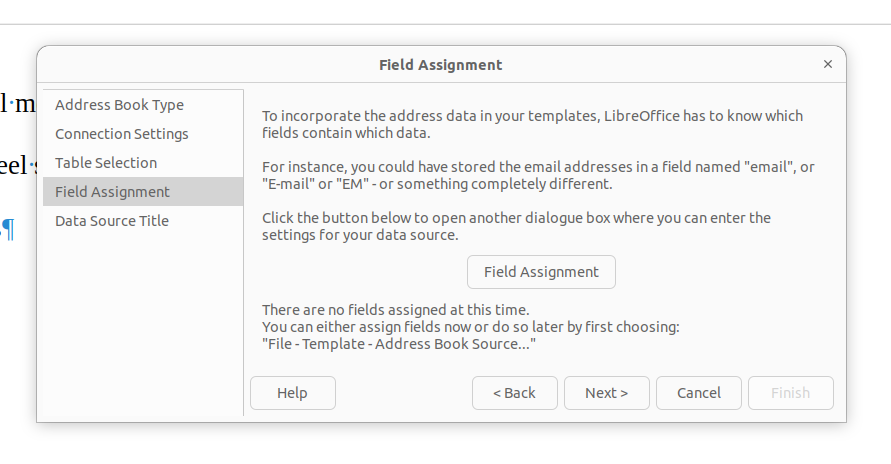
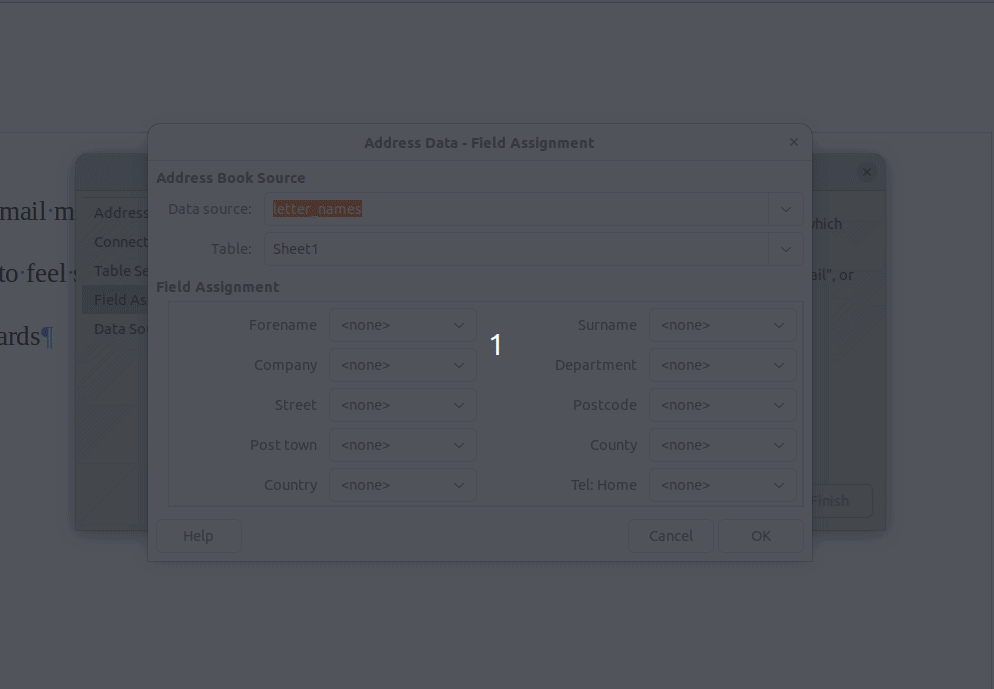
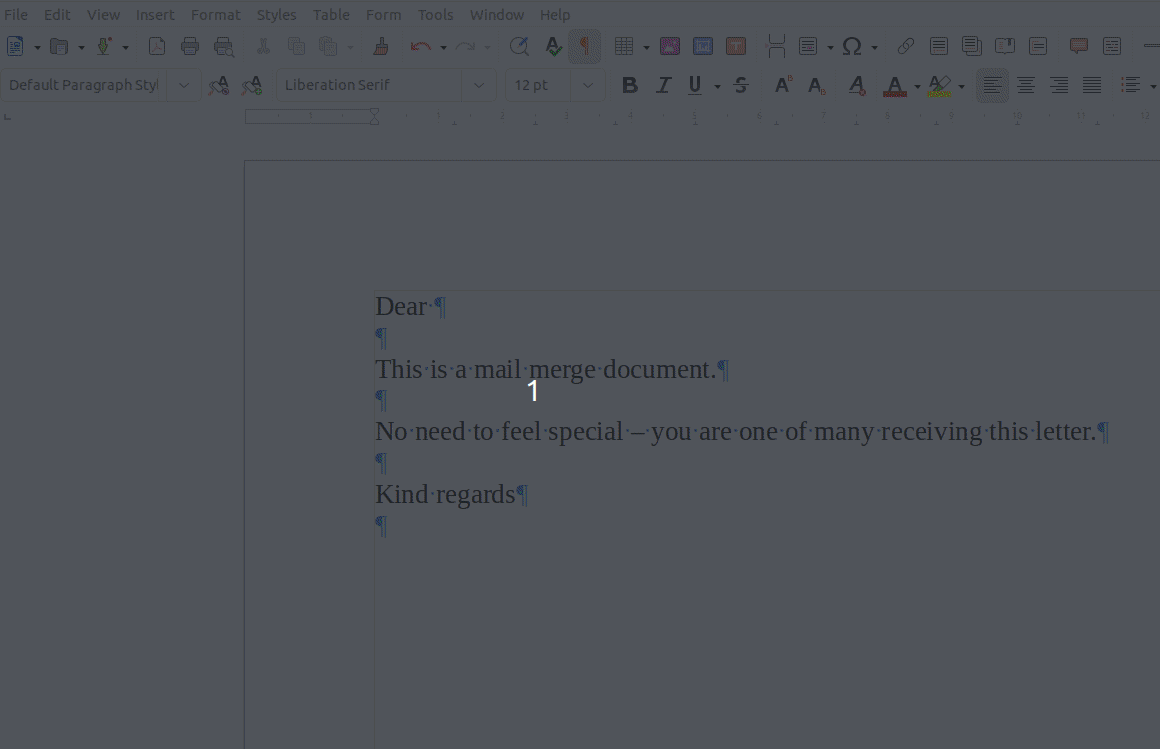
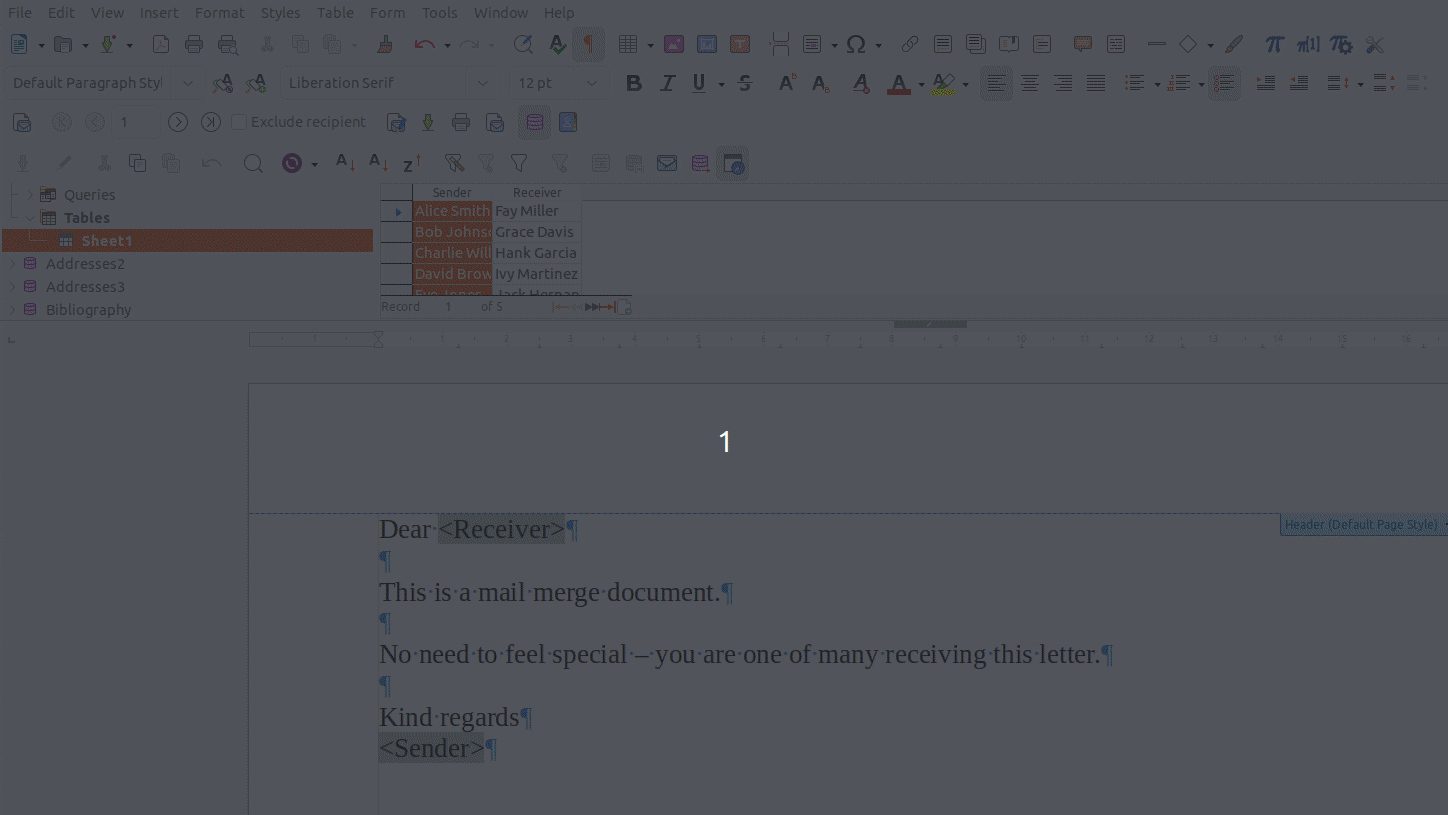
Ever had the problem where you had to send the same letter to multiple different people? Wasted countless hours on the same task thinking there must be a better solution? Well, that solution exists and it's called mail merge.

Just what is mail merge?

Mail merge is a method used to customise a template document in a word processor based on certain defined fields. These fields can contain any text: names, physical addresses, email addresses and telephone numbers are common examples.

Use case

Imagine you have to send out a letter to one person...we definitely have time to fill in their details...and we might possibly even have time to do two or even more...but let's say we want to send that same letter, with a few tweaks to 50 or even hundreds or thousands of people. Suddenly we aren't too willing to manually change the personal particulars on every letter. Unfortunately, as I've learnt recently, many people don't know that it's possible to automatically fill in these details. I aim to change that with this post.


Software requirements

I suspect any of the bigger modern word processors should be able to do this. I suspect (read "hope") these are the most commonly used word processors. I will focus on:
  • Microsoft Word and
  • LibreOffice Writer
If you have one of these, this post will cover it: the workflow in both are similar as they are both native desktop apps. Google Docs is a bit different so I aim to cover it in another post.


Mail merge basics

In general you need two things: a template document with specified fields that you have created in either Word or Writer and some kind of database from which to pull your data to complete the fields in your template document. This database is often in the form of a spreadsheet, but it could be another type of database. We will focus on the spreadsheet, since, I suspect, people using other databases are likely able to figure it out given the basic example. If you need some help with spreadsheets in general, you can consult my post: A basic introduction to spreadsheets.

We will now go through the basics, first setting up the database and then looking at what to do in both Microsoft Word and LibreOffice Writer.


Setting up the database

First, you will require a database. We will create a small spreadsheet with two columns, Sender and Receiver, containing, respectively, the names of the sender of the letter and the receiver of the letter. Of course you can customise the spreadsheet to your own needs with various other columns as required. It really doesn't matter what you use to create it, so go ahead and use LibreOffice Calc, Google Sheets, Microsoft Excel, or whatever your heart desires. I'll use LibreOffice Calc as it just happens to be what I have on my computer.


Figure 1: Screenshot from of the spreadsheet we will use as the database


These particular names are fake names I asked ChatGPT to generate for the sake of this example, but the columns could contain any type of data. Client or employee names, friend names, telephone numbers, etc. It really doesn't matter what you put in. This is just a basic example - you can make your own database with however many columns and rows you want (well I guess there has to be some upper limit, probably the number of rows and columns the spreadsheet can take).


I suggest that you give each column a short but descriptive heading to keep everything nice and neat. Other than that, I can't say there are too many cases where you'll go wrong if you stick to the basics.


We will now look at the template side of things. First using Microsoft Word, and then LibreOffice Writer.


Microsoft Word mail merge

Microsoft Word has made this process fairly easy. The most difficult part is probably finding the correct menu items. If you have your database set up it's actually a piece of cake. To start you'll have to navigate to the "Mailings" tab on the ribbon as shown below. You will see that there is a menu under mailings called "Start Mail Merge". This gives you a few options, but for the purposes of this tutorial, we will leave it on the default setting: "Letter". Oh, and don't worry about the funny characters in the documents I've prepared, they won't be visible when you send out or print your final document. If you don't know what these are, they are just formatting marks to indicate spaces, breaks, etc.


Figure 2: Navigating to the Mailings tab on the ribbon in Microsoft Word


Once we have navigated to the Mailings tab we have to connect our database (spreadsheet) to Word. We can do this by clicking on the "Select Recipients" menu item under the Mailings tab and then select the option "Use an existing list" which will open up a file browser to allow you to navigate to the location of your spreadsheet. Once you are done you'll be prompted to select the sheet from the spreadsheet you have chosen. In our case there is only one sheet, so this choice is easy.


Figure 3: Connecting the database to Microsoft Word


Once our database is connected we can insert the fields into our already prepared document. This is basically a point and click exercise. Place your cursor where you want to insert your field, then click on that position in the document. Next click on the "Insert Merge Field" button under the Mailings tab and select the field you want to insert. This can be done as many times as you need until you are done preparing your document.


Figure 4: Inserting the fields


When you are done placing the fields and you are ready to generate the final documents you should go over to the "Finish & Merge" button. You will have the choice of a few options including "Edit Individual Documents", "Print Documents", and "Send Email Messages". Select whichever is appropriate to you. For our tutorial we will go ahead and select the "Edit Individual Documents" option. A dialogue box will appear asking you to define the records you want to use. For now we will select "All". Click "OK" and see all your documents generated. It really is as simple as that.


Figure 5: Merging the documents


That's the process in Microsoft Word. Next up is LibreOffice Writer.


LibreOffice Writer mail merge

The most challenging thing about this process in LibreOffice Writer is navigating the menus...but once you know where everything is, it's also very easy. Maybe not quite as easy as Microsoft Word, but trust me...there's definitely no reason to swap your word processor for this.


There may be a few dependencies that you have to install. I use LibreOffice Writer on Ubuntu and I had to install libreoffice-base, which was a bit annoying. After that I had to restart my computer before all the menu items became available. At least there was a warning that I needed it. If you have the dependencies you require we can go ahead. Technically you don't need a template, just an open LibreOffice Writer document. I have created a template to facilitate following along.


Figure 6: Template document in LibreOffice Writer


I've enabled formatting marks, so if you don't recognise the blue characters, don't worry. It's just to show that I've left spaces in certain parts of the document, most notably after "Dear" and below "Kind regards".


From here you need to link your database to LibreOffice Writer. To do this, navigate to the menu item File > Wizards > Address Data Source...


Figure 7: Navigating the menus in LibreOffice Writer


After choosing "Address Data Source" in the menu you'll be greeted by the dialogue box below. Select "Other external data source" and click next. This will lead you through a series of dialogue boxes in which you connect your database to LibreOffice Writer. The next dialogue box to come up will be "Connection Settings". Click on the "Settings" button in the middle of the screen. A box will come up with the menu asking for the type of database. Following our example you would select "Spreadsheet", which appears to be the default selection. Click next. Then you will come to a box asking for the path to the database. Either type in the path or click "Browse" and find the file.


Figure 8: Connecting to the database


Once the database is connected you can test the connection. If there are no issues with the database you should be able to go on without issues. Click "Finish".


Figure 9: End result of the connection process


Clicking finish will get you to yet another dialogue box. I promise, it won't be long till we get to the action part of this mail merge... Here you'll have to click on the field assignment button in the middle of the screen. This just associates a certain field with a column in your database.


Figure 10: Where field assignment starts


After clicking "Field Assignment" another dialogue box will come up, this time asking you to associate certain fields with columns in your database. If your database is a spreadsheet with multiple sheets, you can select which sheet you want to activate. Since we only have one sheet we'll leave it as the default. Then we need to choose the fields we will associate each column with.


Figure 11: Where field assignment ends


As the columns I have created don't fit any of the predefined fields, I will associate my columns with the User 1 and User 2 fields. It probably doesn't matter really, but it makes sense to do it in this way. We press "OK" and then "Finish" in the following dialogue box.


Figure 12: Inserting fields into our document


Now all that's necessary is to create the documents. To finish up, we need to print our document. A dialogue box will come up and you can specify whether you want to send the document to the printer or save it to a file. If you choose save to file you have a choice of an individual file containing all the letters or separate files containing one letter each.


Figure 13: Merging to create our documents


Once you are finished you can do with the files or printed documents what you like. The final document(s) will look like the one shown below:


Figure 14: Final result


And that's it. Not quite as simple as Word, but easy enough in my opinion.


Conclusion

Well there you have it: no more edits of multiple documents. Mail merge is the answer. This is a fairly simple task in both Microsoft Word and LibreOffice Writer with a fairly low barrier to entry, so please try it out next time you need to send out the same document to a whole list of people. Obviously there is a lot more that can be done, but the purpose of this post was to create a basic primer to enable you to explore the rest.